T U T O R I A L

click here for quick tutorial .gif animation. (2.62MG)
T O O L S:
-blue pencil, STAEDTLER 0.1, Photoshop CS2, Wacom tablet: INTUOS 1, 6x8

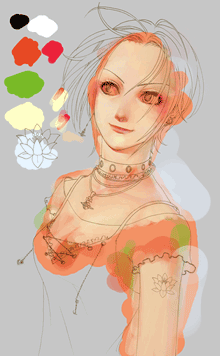
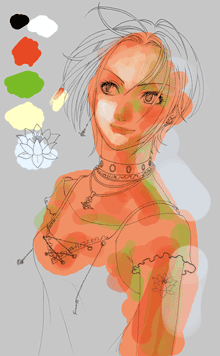
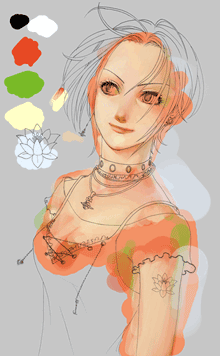
- Choose the 4 basic colors to start with.
Red is my warm color, Green is my cool color for shadows, Yellow is for getting fresh color for high lights, Blue is for reflection light under the shadow.

- Decide where the light is coming from. I decide to have it mid-left.

- Set your background to any tone of grey. NEVER start with pure white or pitch black.

- Apply them on all the skin area.

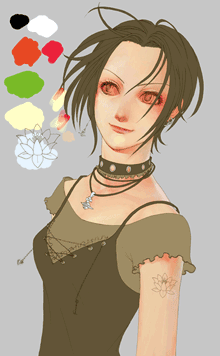
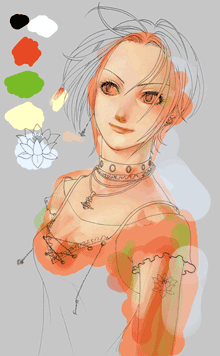
- Use the yellow to mix with the orange to get the lighter skin tone.
** Make sure to put the yellow ON TOP of the orange to get fresh color.

B R U S H T O O L
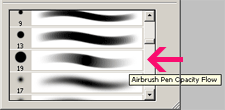
- The brush is just a tablet + photoshop's default set up. Select brush tool> right click>select the brush between hard and soft brush, where the pen pressure is activated.

- It's a little hard to see but I rotated the right eye clock-wise to fit the face better.
look at the .gif animation to see the difference.

- I added new color, very saturated magenta pink for her blushy cheek below her eyes and bit of her lips.

- I spent the time to properly color in the hair, clothing, accessories in seperate layer and locked it.

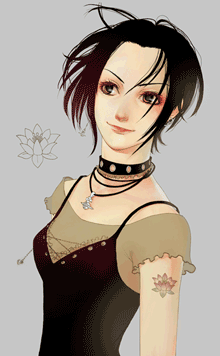
- opened Image> Adjustment> Color Balance and toned down the color becuase it was a little orangy.

- I made the lips bigger because it was a little small for her face.

- Thinned bottom of her arm, becuase it looked like a tube arm.

- colored in her "ren" tattoo.

- Added bit of white on her puple and blackened around her eyes for her smoky eye shadows.

- Final touch up of her lips.

- Enhanced her eyebrows.

- Added extra strands of hairs for more natural hair look.

- Added shadows under her speghetti straps and neckless.

- Added highlights of her eyes.

- Put light gradient of pink and grey-green on her black area: hair, tank top, choker.

- The choker didn't make any sense with perspective so I fixed that.

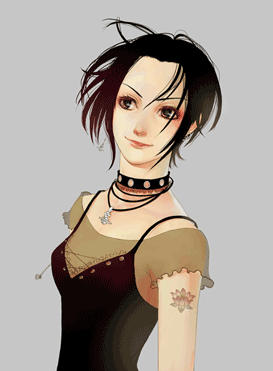
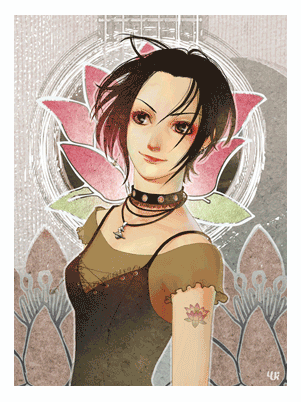
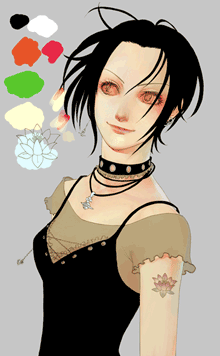
- This is the final image.

- Ta-da~

click here for .gif animation version.